Saturday, January 29, 2011

Comforting Chicken Noodle Soup

Chicken Noodle Soup

Here we are in the dead of a Midwest winter.  Snow covered lawns, ice covered sidewalks, short days and a lack of sun calls for bringing on the Big Guns.. Chicken Noodle Soup to the rescue.  This is one of my all time favorite comfort foods.  It is easy and quick to make especially if you use Rotisserie Chicken from the Grocery Store and Frozen Liquid Gold.  I made extra so that I can freeze a couple quarts for a quick meal.  Erick says this beats Progresso Chicken Noodle, hands down.

Chicken Noodle Soup

Ingredients
  • 2-3 Cups Cooked Chicken (I use Rotisserie Chicken) shredded into bite size pieces.  Add more or less chicken based on your preference.
  • Reames Noodles
    
  • 2-3 Quarts Liquid Gold (depends how much broth you like)
  • 1 12 ounce Bag Frozen Reames Noodles Cooked in Salted Water
  • 3 Large Carrots Peeled and Diced
  • 3 Stalks Celery Diced
  • 1 Large Onion Diced
  • 2 Cloves Garlic Minced
  • 3 Tablespoons Parsley
  • 1 Tablespoon Olive Oil
  • 2 Tablespoons Butter
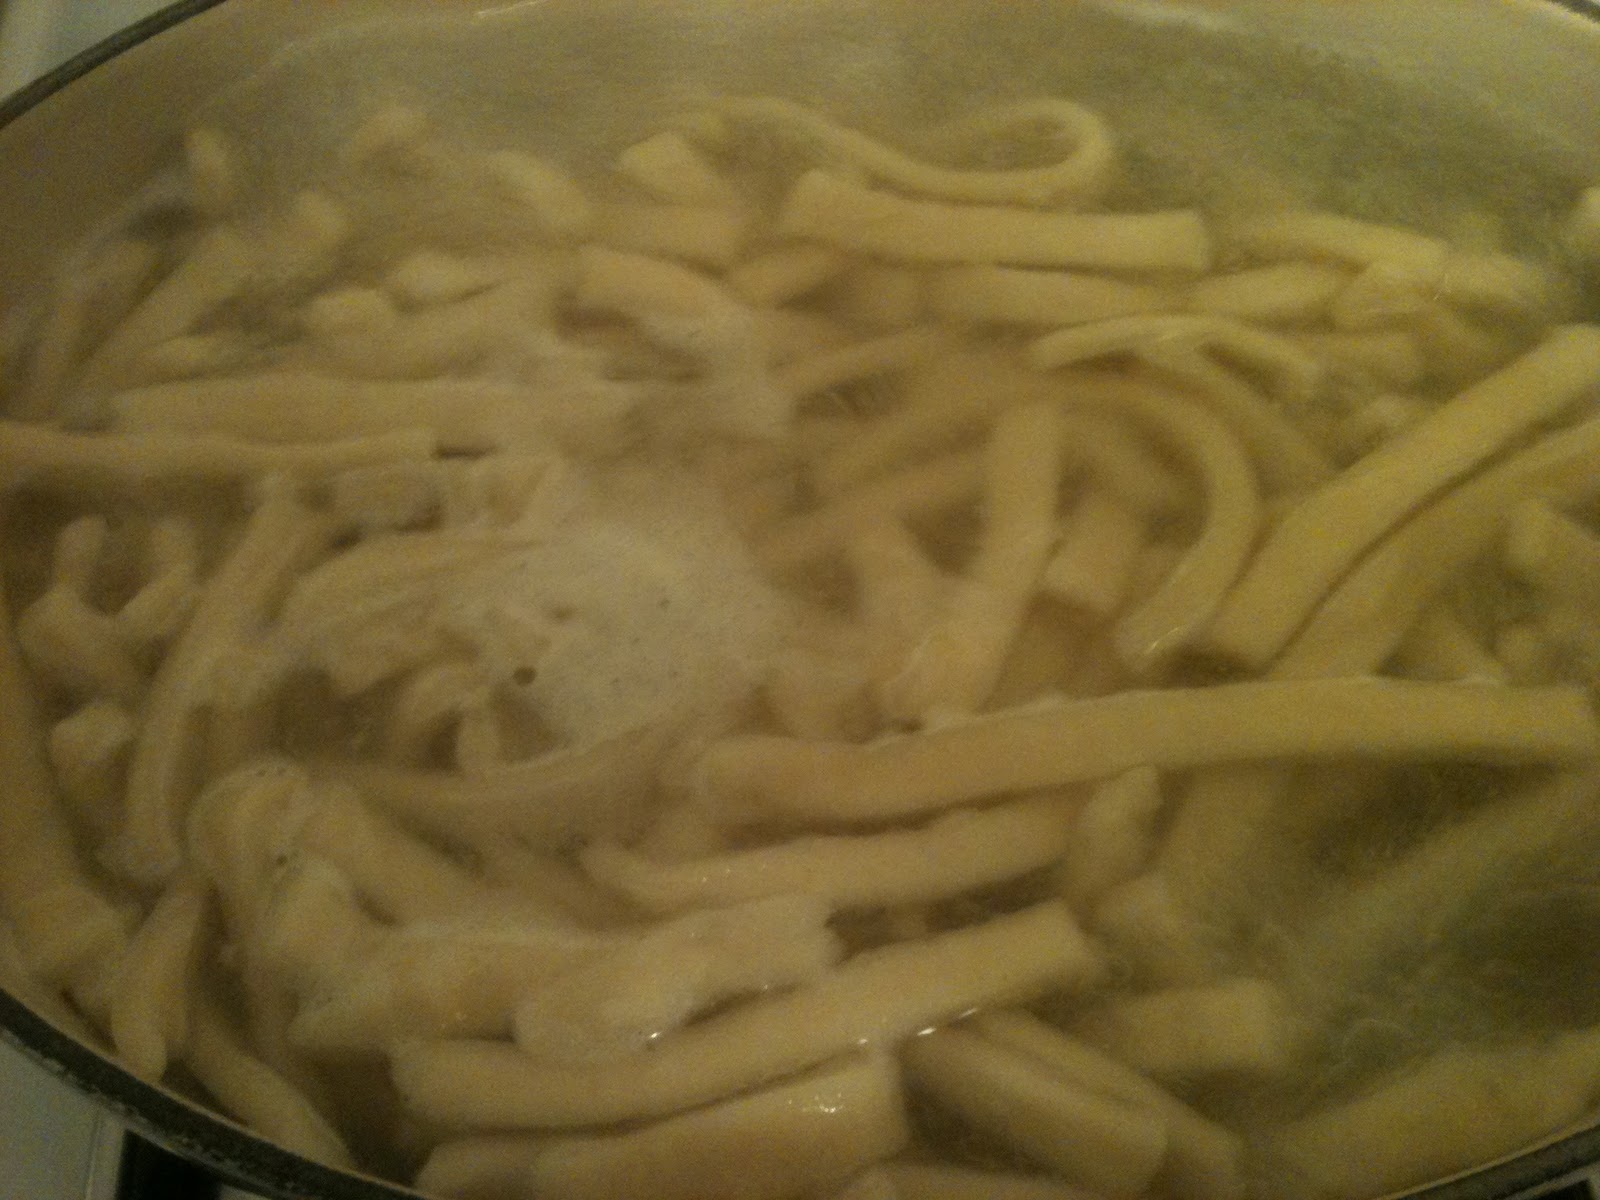
Directions:
Onion, Garlic, Carrot and Celery Mixture

  • Melt Butter and Olive Oil in Dutch oven. 
  • Add onions and garlic and saute until translucent. 
  • Add Carrots and Celery and continue to sauteed over medium heat for 5-10 minutes. 
  • Stir Often. 
  • Add 2-3 Quarts Liquid Gold, 1 12 ounce bag of cooked Reames Noodles, Chicken and Parsley. 
  • Bring to simmer 20-30 minutes and serve.

Friday, January 28, 2011

Noodles Kaboodles

Noodles Kaboodles

Erick's Grandmother Joyce often made him a favorite dish that they called Noodles Kaboodles.  It is easy to make and is sure to put a smile on Erick's face. 
Peppercorns


Ingredients:
  • 1/2 Teaspoon Peppercorns
  • 1 Quart Liquid Gold
  • 1 half bag Wide Egg Noodles
Directions
  • Bring Liquid Gold, Noodles and Peppercorns to a low boil
  • Stir frequently
  • Continue to boil until all of the Liquid Gold is absorbed into Noodles

Noodles Cooking in Liquid Gold

Liquid Gold

Monday, January 17, 2011

Artisan Bread in 5 Minutes a Day


Zoe Francois and Jeff Hertzberg  wrote Artisan Bread in Five Minutes a Day.  I recieved their cookbooks from Lady Di and Don for Christmas.  My Sista Sara turned the family on to this bread revolution.  First you must make sure you have all all the necessary equipment (baking stone, pizza peel, dough storage containors, and oven thermometer.) Over the weekend and I mixed up a couple different batches of dough.  It turned out really good and now I am itching to make homemade pizza with the dough.  I was really surprised at how crispy and chewy the crust is for this bread.  I am sure you will love it. 


The Master Recipe: Boule
Makes 4 1-pound loaves

Ingredients:
  • 3 cups lukewarm water
  • 1 1⁄2 tbsp granulated yeast (1 1⁄2 packets)
  • 1 1⁄2 tbsp coarse kosher or sea salt
  • 6 1⁄2 cups unsifted, unbleached, all-purpose white flour
  • Cornmeal for pizza peel

Mixing and Storing the Dough

1. Heat the water to just a little warmer than body temperature (about 100 degrees Fahrenheit).

2. Add yeast and salt to the water in a 5-quart bowl or, preferably, in a resealable, lidded container (not airtight — use container with gasket or lift a corner). Don’t worry about getting it all to dissolve.

3. Mix in the flour by gently scooping it up, then leveling the top of the measuring cup with a knife; don’t pat down. Mix with a wooden spoon, a high-capacity food processor with dough attachment, or a heavy-duty stand mixer with dough hook, until uniformly moist. If hand-mixing becomes too difficult, use very wet hands to press it together. Don’t knead! This step is done in a matter of minutes, and yields a wet dough loose enough to conform to the container.

4. Cover loosely. Do not use screw-topped jars, which could explode from trapped gases. Allow the mixture to rise at room temperature until it begins to collapse (or at least flatten on top), approximately two hours, depending on temperature. Longer rising times, up to about five hours, will not harm the result. You can use a portion of the dough any time after this period. Refrigerated wet dough is less sticky and easier to work with than room-temperature dough. We recommend refrigerating the dough at least three hours before shaping a loaf. And relax! You don’t need to monitor doubling or tripling of volume as in traditional recipes.

5. Prepare a pizza peel by sprinkling it liberally with cornmeal to prevent the loaf from sticking to it when you slide it into the oven. Sprinkle the surface of the dough with flour, then cut off a 1-pound (grapefruit-sized) piece with a serrated knife. Hold the mass of dough in your hands and add a little more flour as needed so it won’t stick to your hands. Gently stretch the surface of the dough around to the bottom on four “sides,” rotating the ball a quarter-turn as you go, until the bottom is a collection of four bunched ends. Most of the dusting flour will fall off; it doesn’t need to be incorporated. The bottom of the loaf will flatten out during resting and baking.

6. Place the ball on the pizza peel. Let it rest uncovered for about 40 minutes. Depending on the dough’s age, you may see little rise during this period; more rising will occur during baking.

7. Twenty minutes before baking, preheat oven to 450 degrees with a baking stone on the middle rack. Place an empty broiler tray for holding water on another shelf.

8. Dust the top of the loaf liberally with flour, which will allow the slashing, serrated knife to pass without sticking. Slash a 1⁄4-inch-deep cross, scallop or tick-tack-toe pattern into the top. (This helps the bread expand during baking.)

9. With a forward jerking motion of the wrist, slide the loaf off the pizza peel and onto the baking stone. Quickly but carefully pour about a cup of hot water into the broiler tray and close the oven door to trap the steam. Bake for about 30 minutes, or until the crust is browned and firm to the touch. With wet dough, there’s little risk of drying out the interior, despite the dark crust. When you remove the loaf from the oven, it will audibly crackle, or “sing,” when initially exposed to room temperature air. Allow to cool completely, preferably on a wire rack, for best flavor, texture and slicing. The perfect crust may initially soften, but will firm up again when cooled.


Bread Cooling on Wire Rack


10. Refrigerate the remaining dough in your lidded (not airtight) container and use it over the next two weeks: You’ll find that even one day’s storage improves the flavor and texture of your bread. This maturation continues over the two-week period. Cut off and shape loaves as you need them. The dough can also be frozen in 1-pound portions in an airtight container and defrosted overnight in the refrigerator prior to baking day.


Friday, January 14, 2011

Beefy Cheese Manicotti

Beefy Cheese Manicotti


This recipe is based on Giada De Laurentiis's Beef Manicotti.  Lynn and I made this for our Sunday Supper before she went home for the Holidays. 

Beef and Cheese Manicotti

Ingredients

  • 2 teaspoons olive oil
  • 1 medium onion coarsely chopped
  • 1 pound ground beef (drain fat from cooked ground beef)
  • Salt and freshly ground black pepper
  • 14 (8-ounce package) manicotti
  • 1 (15-ounce) container whole-milk ricotta
  • 3 cups freshly shredded mozzarella
  • 1 cup freshly grated Parmesan
  • 2 tablespoons chopped fresh Italian parsley leaves
  • 2 Garlic cloves, minced
  • 3 cups Marinara (homemade or Prego)

Directions

Heat a heavy medium skillet over medium heat. Add 1 teaspoon of the olive oil, onion and ground beef. Season with salt and pepper. Saute until the meat browns and the onion is translucent, about 5 minutes. Remove from the heat, and cool.


Brush 1 teaspoon of oil over a large baking sheet. Cook the manicotti in a large pot of boiling salted water until slightly softened, but still very firm to the bite, about 4 to 6 minutes. Using a slotted spoon, transfer the manicotti from the pot to the oiled baking sheet and cool.


Meanwhile, combine the ricotta, 1 1/2 to 2 cups mozzarella cheese, 1/2 cup Parmesan, and parsley. Add the garlic, salt, and pepper to taste, and mix. Stir the cooled meat mixture into the cheese mixture.
Preheat the oven to 350 degrees F.


Spoon 1 1/2 cups of the marinara sauce over the bottom of the prepared dish, I use little individual gratin dishes.  Fill the manicotti with the cheese-meat mixture. I use a pastry bag to squirt the filling into the manicotti.  If you don't have a pastry bag, you could make a make shift pastry bag with a large zip lock bag, just cut the tip off of a corner.  Arrange the stuffed pasta in a single layer in the prepared dish and spoon the remaining sauce over. I put 2-3 stuffed manicotti's per round gratin dish.


Sprinkle the remaining 1 1/2 cups of mozzarella cheese (I like to use both fresh and regular mozzarella), then the remaining 1/2 cup of Parmesan over the stuffed pasta. Bake the manicotti uncovered until heated through and the sauce bubbles on the sides of the dish, about 30 to 35 minutes. Let the manicotti stand 5 minutes and serve.

Crusty Garlic Toast

Crusty Garlic Toast

Crusty Garlic Toast

Ingredients:
  • 1 loaf french bread
  • 1/4 cup - 1/2 cup of softened Butter
  • Garlic Salt
Directions:
  • Cut french bread in half the long way
  • Generously butter bread...I am not kidding...slather on the butter here
  • Sprinkle lightly with garlic salt
  • Cook under broiler until butter is browned and golden....getting it nice and browned like pictured is key to the deliciousness of this crusty, toasty, buttery garlic toast
  • Cut bread in slices and serve warm, this crusty garlic toast dreams of being used to sop up delicious flavor from pasta sauce, soup and, sauces.

Thursday, January 13, 2011

Melt in your mouth Creme Brûlée


Creme Brulee Cooking in a Warm Water Bath

During the Kincaid's days I was introduced to the sublime Creme Brulee.  Over the years I have made it many times.  It is easy, fool proof and a quick go to dessert especially since I usually have all the ingredients on hand. My favorite cookbook author is Ina Garten.  Here is her recipe, from Barefoot in Paris, it is a winner.

Ina Garten Creme Brulee

Creme Brulee

Ingredients

  • 1 extra-large egg
  • 4 extra-large egg yolks
  • 1/2 cup sugar, plus 1 tablespoon for each serving
  • 3 cups heavy cream
  • 1 teaspoon pure vanilla extract
  • 1 tablespoon orange or raspberry liqueur (Grand Mariner or Framboise) optional

Directions

Preheat the oven to 300 degrees F.

Mix the egg, egg yolks, and 1/2 cup of the sugar together on low speed until just combined. Meanwhile, scald the cream in a small saucepan until it's very hot to the touch but not boiled. With the mixer on low speed, slowly add the cream to the eggs. Add the vanilla and orange liquer and pour into 6 to 8-ounce ramekins until almost full.

Place the ramekins in a roasting pan and carefully pour boiling water into the pan to come halfway up the sides of the ramekins. Bake for 35 to 40 minutes, until the custards are set when gently shaken. Remove the custards from the water bath, cool to room temperature, and refrigerate until firm.

To serve, spread 1 tablespoon of sugar evenly on the top of each ramekin and heat with a kitchen blowtorch until the sugar carmelizes evenly. Allow to sit at room temperature for a minute until the caramelized sugar hardens.  If you don't have a blow torch you can put the creme brulee under the broiler instead. I like to serve this with a few fresh raspberries or blackberries.

Wednesday, January 12, 2011

Simple Shrimp Pasta Pomodori with Mozzarella


Fresh Ingredients
   I love Trattoria Stefano in Sheboygan.  They have an awesome dish called Linguini con Filetto di Pomodori they use fresh cherry tomatoes, basil, sea salt, arugula, mozzarella, in a light tomato glaze. Topped with parmigiano and pecorino cheeses.  Here is my take on this dish.

Shrimp Pasta Pomodori with Mozzarella

Ingredients:
  • Roasted Cherry Tomatoes (one container cherry tomatoes tossed with 4 sliced garlic cloves, sea salt, olive oil and balsamic vinegar and roasted for about 20 minutes in a 400 degree oven, then I pick out most of the garlic pieces because I just want to flavor the tomato's but don't want it to overpower the sauce)
  • Parmesan Cheese (about 1/4-1/2 cup)
  • Fresh Mozzarella Cheese (2 medium size balls) cut into cubes
  • Arugula (about 1 cup or more)
  • Basil (about 2-3 T chopped fresh basil)
  • Pasta Water (1 cup reserved from cooked pasta)
  • Grilled and Marinated Shrimp (briefly marinate in lemon juice, garlic, salt, pepper, olive oil and 4 cloves minced garlic, then cook in extremely hot cast iron pan)
  • Fresh Ground Pepper and Sea Salt to taste
  • 1/2 pound pasta cooked
Shrimp Searing in Hot Cast Iron Pan

Directions:
  • Remove from Marinade and sear shrimp on both sides until cooked through
  • Cook Pasta in salted water, reserve 1 cup of of salted pasta cooking water
  • Toss Cooked Pasta with a Grilled Shrimp, Mozzarella and Parmesan Cheese, Arugula, Spinach, Roasted Tomatoes, 1 Cup Pasta Cooking Water, Fresh Ground Pepper and Sea Salt to taste.  The Roasted Tomatoes release their juices and create a sauce with the pasta water and cheese.  Simple and delicious. 

Finished Shrimp Pasta

Monday, January 10, 2011

Delightful Parmesan Roasted Broccoli


Parmesan Roasted Broccoli

Ina Garten strikes again with this Parmesan Roasted Broccoli, I love the combination of the garlic, lemon and basil...ooolala and then to top it off with parmesan and toasted pine nuts what a delight! I served this with the Beef and Cheese Manicotti for Sunday Supper with Lynn on December 12th.   


Parmesan-Roasted Broccoli

Ingredients:

  • 4 pounds broccoli or a couple medium size heads 
  • 4 garlic cloves, peeled and thinly sliced
  • Olive Oil
  • 1 1/2 teaspoons salt
  • Pepper to taste
  • 2 teaspoons grated lemon zest
  • 2 tablespoons freshly squeezed lemon juice
  • 4 tablespoons pine nuts, toasted
  • 1/3 cup freshly grated Parmesan cheese
  • 2 tablespoons julienned fresh basil leaves (about 12 leaves)

Directions:

Preheat the oven to 425 degrees F.


Cut the broccoli florets from the thick stalks, leaving an inch or two of stalk attached to the florets. Cut the larger pieces through the base of the head with a small knife, pulling the florets apart.  Place the broccoli florets on a sheet pan large enough to hold them in a single layer. Toss the garlic on the broccoli and drizzle with 5 tablespoons olive oil. Sprinkle with the salt and pepper.  Roast for 20 to 25 minutes, until crisp-tender and the tips of some of the florets are browned.


Remove the broccoli from the oven and immediately toss with 1 1/2 tablespoons olive oil, the lemon zest, lemon juice, pine nuts, Parmesan, and basil. Serve hot.

Sunday, January 9, 2011

Giorgio's Caesar Salad

Tossed Ceasar Salad
When I lived in Minneapolis one of my favorite restaurants was Giorgio's on 24th and Hennepin.  They made the BEST Ceasar salad...garlicky goodness!  Giorgio's is no longer open but back in 1996, Giorgio Cherubini shared this recipe with the Minneapolis Star Tribune.

Giorgio's Caesar Salad

Caesar Salad Dressing

Ingredients:
  • 1 Teaspoon minced garlic (2-4 cloves of garlic)
  • 1 Anchovy
  • Salt and Pepper to taste
  • 2 Teaspoons Dijon Mustard
  • 1 whole egg, plus 1 egg yoke
  • 1 Cup Olive Oil
  • 2 Tablespoons Red Wine Vinegar or Lemon Juice
  • 1 Cup good quality freshly grated Parmesan cheese
Directions
  • Mash garlic and anchovies together and add salt and pepper and mustard
  • Add Egg and Egg Yoke to mustard mixture and mix well
  • Drizzle olive oil, a little at a time into mustard egg mixture, emulsify mixture
  • Add Vinegar/Lemon Juice and 1/2 cup of Parmesan cheese
  • Mixture should resemble consistency of mayonnaise
Caesar Salad

Ingredients:
  • Chilled Crisp Romaine
  • Croutons
  • Cherry Tomatoes
  • 1/2 cup Parmesan cheese
  • Caesar Salad Dressing
Directions:
  • Toss Romaine, croutons, tomatoes, Parmesan cheese and Caesar salad dressing until evenly and lightly coated.

Saturday, January 8, 2011

Isis and a Hole in One


When I was a little girl, my Mom always got her hair done on Saturday mornings at Kay Bargers Salon.  Mom often brought me along.  Sometimes I would hang out at the beauty shop with her and the ladies.  I can still hear the hum of the dryers and the chatter of all the ladies in town.  After I thoroughly annoyed them by spinning the beauty shop chairs in circles, Mom paid me off by sending me over to Sathers store for a treat.  It was a treat for me and a treat for her (she got rid of my energy for a few minutes). 

Some Saturday's instead of the Beauty Shop, I got to go to my friend Krissi's house.  That was always so much fun.  Our favorite thing to play was Isis.  For those you not in the know...Secrets of Isis was the first TV show with a female lead as the super hero.  Krissi's Mom, Donna, introduced me to the Hole in One.  It wasn't something that my Mom had ever prepared...not really practical meal for a family of 7...but perfect for two hungry superheros calling themselves Isis.


Hole in One
Ingredients
  • 1 Egg
  • Butter
  • Bread
Directions
  • Butter both sides of a piece of bread
  • Cut a round hole in the bread (cookie cutters work great), I grill this little piece too and use it to dip into the yoke
  • Warm frying pan
  • Put buttered bread in heated frying pan and grill to golden brown and flip bread
  • Crack egg into hole in bread
  • Cook until set and buttered bread is grilled and golden
  • Flip bread again and continue to cook until egg is cooked to desired doneness and bread is golden, grilled.


Sunday, January 2, 2011

Angel Food Candy

Hand Dipped Angel Food Candy

Recently my sista Amy and I  had fun making Angel Food Candy.  We were inspired by watching Amy's Dad try to make it over the years.  We both identify with the word "try" because we too discovered that sometimes it takes a batch or two (or three) to get it right.  We joked about having to have enough ingredients on hand just in case it doesn't work out. 

Angel Food Candy

Ingredients
  • 1 Cup Dark Karo Syrup
  • 1 Cup White Sugar
  • 1 Tablespoon White Vinegar
  • 1Tablespoon Fresh Baking Soda
  • 2 bags good quality chocolate chips melted

Cook Karo Syrup, White Sugar and Vinegar over Medium heat, don't stir once sugar is dissolved. 

Cook until 300-310 degrees, remove from heat and quickly add 1 Tablespoon fresh Baking Soda.  Stir it quickly, don't over stir.  If you do, it will scorch it and give it a burnt taste.  Pour mixture in parchment lined 9x13 pan, do not spread, do not touch, walk away, don't be tempted to touch it.  Allow to cool. 


Once cool, cut into pieces.  It will crumble and and look a little haphazard but don't let that stop you...just dip into melted chocolate and it will look and taste delicious.


Saturday, January 1, 2011

Flowering Cacti

 Maui 3/2010

If this blog were a flower or plant (like the one pictured above)....it would have perished weeks ago due to lack of food (LOL) and water, but my sista, Dena, reminded me "not if it is a cactus."  I like her positive thinking and have accepted her concept especially because it relieves the guilt of not journaling my boring adventures for the last 6 weeks.  I apologize to the 3 people who read this, good thing we have other means of keeping in touch.  Prepare for a blast of updates of my recent cooking adventures!!!!